Showing posts with label Can-Do-It-Myself Crafts. Show all posts

Friday, March 29, 2019

DIY Aluminum Sheet Flower Wall Decor

Flower wall decor out of stucco aluminum sheet.

This decorative piece was wrought out of left-over aluminum sheet from the DIY Large Royal Crown  project I made last Christmas as I do have the habit of saving excess materials.

Materials used:
~ aluminum sheet
~gold craft wire
~gold spray paint
~perfume bottle cap (alternatives: small round mirror, crystal drawer handle, etc.)
~a pair of scissors
~a pair of pliers
~glue gun
~glue sticks


I have to make sure I will not run out of scraps so I first made a pattern out of paper and found out that I can only make room for five bigger-sized petals. So I cut them by using just a pair of scissors as the material is really easy to handle.


Afterwards, I laid down the cut petals and the tiny bits of the aluminum sheet left and made a smaller paper petal pattern for the inner ring. I had to make sure the pattern would fit the smallest piece of the scraps left for me to work with.


When all the petals has been cut I did some ruffly edge on them with tiny pair of pliers.


For the accent at the center I thought it was time to use the crystal-ly, sparkly perfume bottle cap I've been saving for a while.


I cut a round piece of aluminum and made a hole at the center where the cap would fit as this would serve as its holder as well as the 'bone' of the flower where all the petals would be glued down.


At this point I got engrossed at gluing everything down I failed to take pictures, I just used the handy-dandy glue gun to attach the petals down the round aluminum. The bigger-sized petals came first followed by the smaller ones- everything held up pretty well.


I also pulled out my extra gold craft wire to make some additional accents that I attached around the bottom of the crystal cap using hot glue.


After finishing the flower, which didn't really take that long; I thought I'd use the little bits of the scraps left to make climbing leaves to extend the design.


I then gold-bombed the leaves with gold spray paint to create contrast and tie up with the gold wire accents. I then hung it up on my wall using a wire tied up at the bottom of the cap at the center of the flower.

Friday, August 11, 2017

How to Make A Shadow Puppet


August is that time of year when Filipinos celebrate Buwan ng Wika which literally means Language Month. Because of the multitude of dialects used across the country it is but fitting to acknowledge and celebrate having a national language that unifies us in many ways.

Schools during this time would be alive with various activities especially competitions on declamation, essay-writing, slogan / poster-making and storytelling all using the National Language-Filipino.

One interesting way to make a storytelling piece come alive is to use shadow puppets. Here I list some tips on how to make a shadow puppet.

 But first, here are the materials needed:
   ~ cardboard/illustration board or any carton sturdy enough.
   ~ colored cellophanes/ a.k.a. candy wrappers
   ~ glue/ scotch tape
   ~ stick/wooden handle
   ~ pencil
   ~ pair of scissors
   ~ craft knife

How to Make a Shadow Puppet
   

Friday, August 4, 2017

Wire Wrapped Stone: How I Did It Myself


DIY wire wrapped, semi-polished stone and a story that comes along.
During a stop-over in one of our road trips I found a rough, translucent stone on the ground. It was just raw beauty.  I took it home, looked at it from time to time wondering what I'd do with it. Then one day, I decided to take it to my own hands to polish it. Although I didn't have the tools, I do have the will power.

 I sanded it with white sandpaper, I buffed it with sand then washed dust away with water and soft-bristled brush and buffed even more with soft cloth till eventually~

                    it went from this                                        to this.                            
The next step is wrapping it with wire. So here is my beginner attempt to do so~
It was too large to use as pendant for a necklace so I attached it to a bag zipper instead...and now I can carry it whenever, wherever.

Wednesday, March 5, 2014

Papier-Mache Dinosaur World


Dinosaurs though extinct for millions of years can still pretty much roar and live in the imagination of young children everywhere, and my son is no different. Now at seven-years old, that fascination still shows no sign of fading-away. Making them/ with them a little dinosaur world is a guaranteed path to their heart's fondest memory. Papier-mache is a practical and easy medium to work with; you just need some scrap paper from your recycle bin, some starch, paint, and a fairly sunny weekend.

Papier-mache can be executed by stripping scraps of paper and pasting them to shape or on to a mold- layer by layer; another way is to make paper clay by mixing little pieces of paper with cooked starch.

How to Make Paper Clay


(1)Paper pulp - Made by processing torn pieces of paper with little water into a blender. Strain afterwards.
(2)Starch glue - Made by cooking a little starch dissolved in water. You'll know it's cooked when the mixture becomes transparent.
(3) Paper clay - Mix the paper pulp and the starch glue to a right consistency, and by that it means not too runny.


Papier-Mache Dinosaur World

For this miniature world, I decided to create separate land forms to give free rein to the player's(my kids) imagination and to make storage more convenient. This project also has the secret mission to familiarize my children specially my preschooler with the different land forms.

Volcano Island

A volcano is imperative in a dinosaur world.
An old plastic plate was used as base for the island. An upside down plastic cup was set on the plate with some tape, then covered with paper strips using starch glue and an outer layer of  paper clay for texture. Plastic trees and plants can be stuck in directly to the land form or separately by paper-mache-ing them inside plastic bottle lids

Mountains and Valley


More upside down plastic/ paper cups set on an ice cream tub lid covered by more paper strips and paper clay. Drying can last several days depending on the thickness and the intensity of sun.

Hills, Cave and Plateau


For the cave, cut an opening at the side of a paper cup before covering.

Paper clay pulps can be piled on selected spots for vegetation or terrain texture. The final look will be dictated largely by how well the land forms are painted. It is best to observe from pictures or actual surroundings. Generally for both vegetation and terrain, it is usually the topmost part that appear lighter; use the darker tone to add depth and dimension.

Tuesday, February 11, 2014

Kawaii Faces on Hearts

Kawaii faces
Kawaii-faced hearts for V-day, why not? Kawaii graphics are easily obtainable using the internet, but for those interested to draw them by hand without having to measure everything along the way, here are the steps in pics and a few simple tips:

Tip#1  Start at the center to easily achieve symmetry.

Tip#2  Mind how the details of the face align to each other.


Wednesday, January 22, 2014

3D Paper Fruits and Vegetables


A simple way to make 3D paper fruits and vegetables is to cut out a shape in duplicates of 3 or more; fold the pieces together at the center and open, then sew with needle and thread at the crease to hold them as one.


Thursday, November 28, 2013

Bead and Wire Mini-Christmas-Parol


For my part of the world, with no snowflakes or chilly winter, it is usually the warm-colored lights of the parol that ushers in the Christmas spirit as early as September.


A parol is a Christmas lantern ornament unique to the Philippines, it is dominated by a basic five-point star pattern and is usually lighted with bright mini-lights. In most cases, it is made up of bamboo sticks and Japanese paper or colored cellophanes. But nowadays, materials vary, along with the tweaks in the design.

 Essentially, the parol evokes the Star of Bethlehem that guided the path for the Magi to find and witness the birth of the Messiah. To Filipinos it is also a symbol of hope and radiance through the darkness.

How to Make a Bead and Wire Mini-Christmas-Parol

Materials to be used are: wire tools for cutting and twisting; assorted beads of your choice; and craft wire.


  1. Take an approximately 3" wire, put a bead in the middle whilst bending the wire slightly; this bead will be part of the star at the center of the parol.
  2. String two more beads through both ends of the wire.
  3. Twist the wire once or twice to steady the three beads.
  4. Push another bead, joining the bended wire as one.
  5. Add two or more beads, playing on the colors.
  6. Make four more sets of this to complete the parts of the five-pointed star.
  7. Take another piece of wire and string the five initial beads together to form the star at the center of the parol.
  8. Twist that wire at the back and cut excess.
  9. Add more elements like the outer circle and 'tails' depending on your design preference.

Thursday, October 31, 2013

Moon Lantern

These moon lantern making tips can come in handy not only for festival purposes but for decorating stage sets for children's school play or for adding a special accent in your baby's room.

First Step: 

Second Step:

Third Step:
This hole can be modified later by adding a flap to the side of the cut portion to tuck inside the lantern.

Hang up or attach to a pole.


Thursday, October 10, 2013

No-Sew, No Glue, Crafty Booklet Binding


Make a home for your loose doodles~ try this crafty no glue, no stitch booklet binding technique.

(1) Gather up colored art or construction papers, (2) fold them together in half; (3) make an approximately 1/2 inch fold at the side; (4) make little cuts to the fold at the side with equal distances; (5) alternately fold the cuts on the side.

An early attempt at creative writing by my boy aged six. Please excuse the grammar and spelling, English isn't our mother tongue.


Sunday, September 22, 2013

Hwang Jini Soap Carving

Hwang Jini, a carving in soap

To those bent on learning the art of sculpture, soap carving is a good way to start. Soap is a very cooperative medium that is safe for both adults and children and one that is easily accessible anytime you get  that creative impulse to practice your craft or bring a vision to life. The tools to carve it with can be anything from a small kitchen knife to a little toothpick. To kids starting with simple designs, a plastic knife or a popsicle stick will do.

A crash course on carving soap~

Step 1
Find a good bar of soap, choose one that has an even texture and devoid of strong fumes to distract you while you work.

This soap bought from a Chinese store sparked in me memories of jade.

Step 2
Get your tools ready. A pairing knife will be good for the job of scoring and peeling away soap, a paint brush or an unused toothbrush will come in handy to brush away the shavings, some sharp tiny tools for details like toothpick and nail tools, and a cotton bud for rubbing little water for a smooth finish.

Step 3
Prepare your design references. Choose something that strongly inspires you, that will get you through the crafting process without the fire wavering or you minding the time. Remember that you can do what your mind tells you you can.

Yup, this author likes Korean TV series.

Step 4
Sketch your design on the soap with a pencil or scrape it directly with a tool in the soap. Remember that carving is a subtractive process so the scrapes must fall where you will cut away most amount of soap.


Step 5
Carve away, round off the edges in small portions. While carving one part, plan where to cut next and mind the proportions at the same time; and if possible think like Michaelangelo.


Step 6
Let the play of light and shadow work for you. Keep checking your work in various angles. 


Step 7
Brush off soap dusts and tiny chips then smooth the surface by rubbing with a wet finger or cotton bud.

Special note: save your shavings. These can be melted over low heat to make a new bar to carve.


There is no better teacher than experience, so if one wants to be good at something he must practice, practice, practice. The difficulty you will encounter along the way will teach you best. The internet is filled to the brim with tips from simple and cute to intricate designs, it is up to you to grab that soap and just do it. 


Monday, September 9, 2013

Micro Moshlings Bread Clay: Rest of the Gang

It was a week long of bread clay and moshlings posts, it was fun creating these cuties but there are lots more other crafts and too little time, heh! Anyhow, sometimes it's nice to create if only to take fun pictures. So here's the rest of the gang in one go~

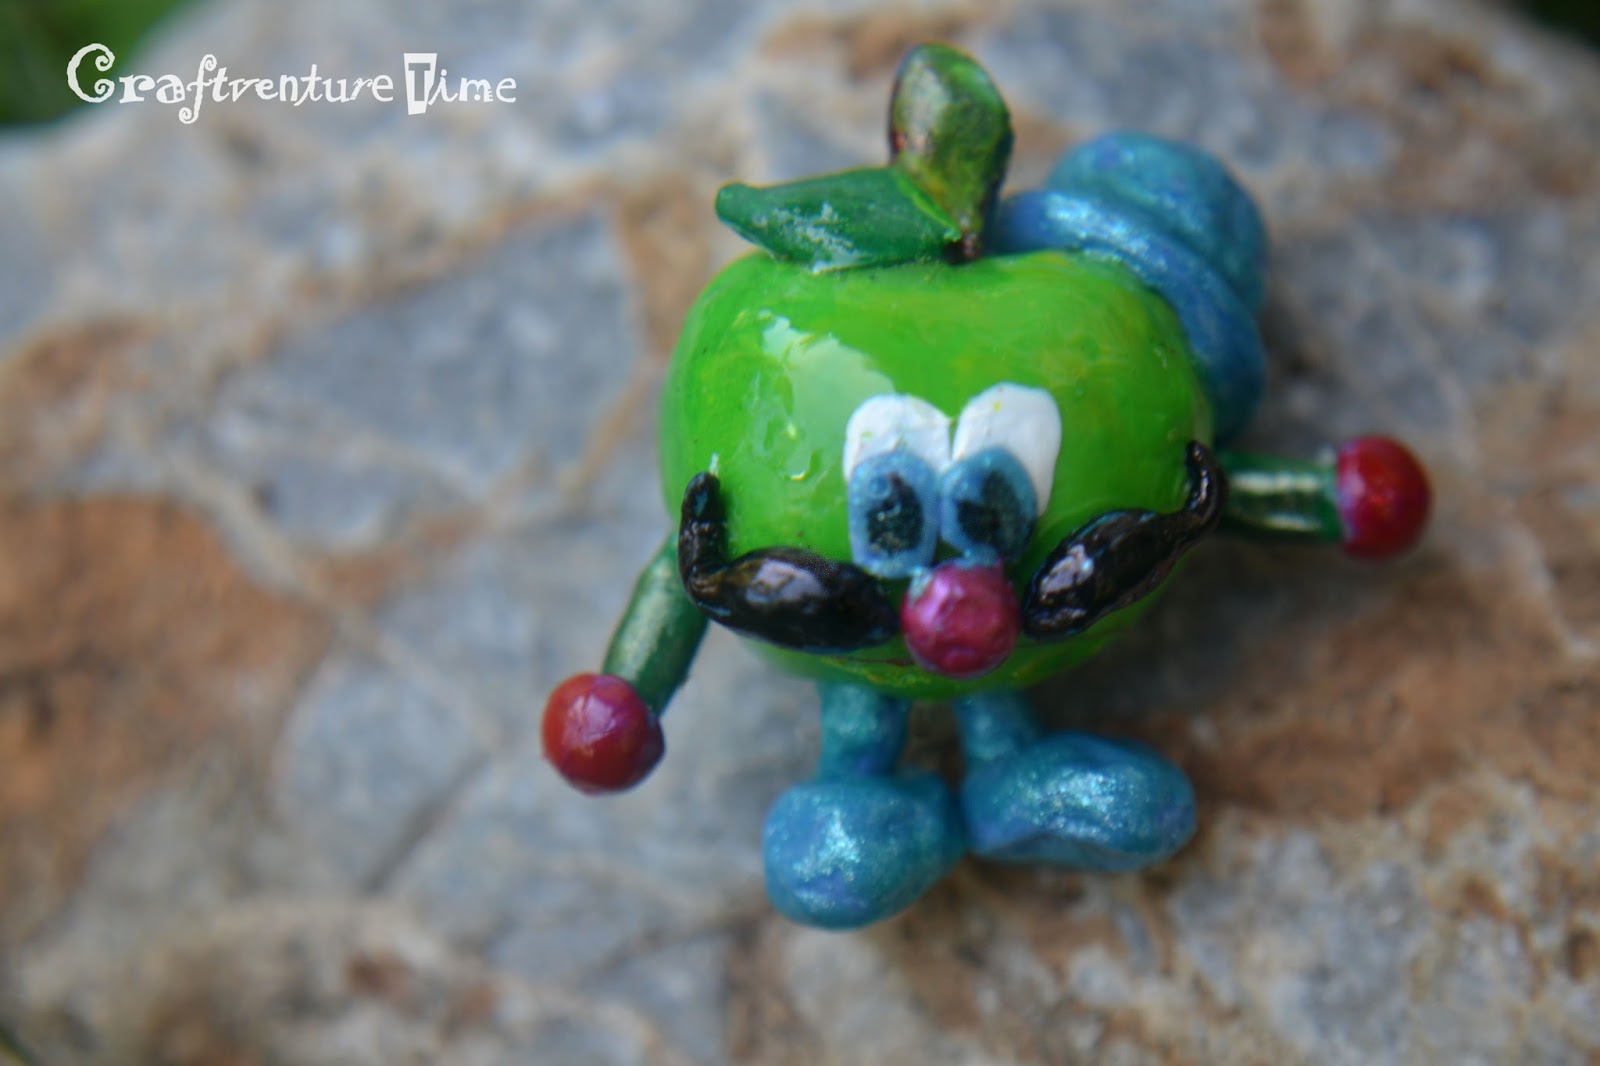
Scrumpy Moshling
Pip Moshling

Lady Meowford Moshling

Coolio Moshling

I hope you enjoyed this little series spectacle and see you  on next post with something new from Craftventure Time!

For Bread Clay Recipe and tips on making bread clay whatchamacallits click here.


Related Posts Plugin for WordPress, Blogger...