Monday, September 23, 2013

Creativity Quote ~ Emily Dickinson


To make a prairie it takes a clover and one bee,
One clover, and a bee,
And revery.
The revery alone will do,
If bees are few.

~Emily Dickinson

Sunday, September 22, 2013

Hwang Jini Soap Carving

Hwang Jini, a carving in soap

To those bent on learning the art of sculpture, soap carving is a good way to start. Soap is a very cooperative medium that is safe for both adults and children and one that is easily accessible anytime you get  that creative impulse to practice your craft or bring a vision to life. The tools to carve it with can be anything from a small kitchen knife to a little toothpick. To kids starting with simple designs, a plastic knife or a popsicle stick will do.

A crash course on carving soap~

Step 1
Find a good bar of soap, choose one that has an even texture and devoid of strong fumes to distract you while you work.

This soap bought from a Chinese store sparked in me memories of jade.

Step 2
Get your tools ready. A pairing knife will be good for the job of scoring and peeling away soap, a paint brush or an unused toothbrush will come in handy to brush away the shavings, some sharp tiny tools for details like toothpick and nail tools, and a cotton bud for rubbing little water for a smooth finish.

Step 3
Prepare your design references. Choose something that strongly inspires you, that will get you through the crafting process without the fire wavering or you minding the time. Remember that you can do what your mind tells you you can.

Yup, this author likes Korean TV series.

Step 4
Sketch your design on the soap with a pencil or scrape it directly with a tool in the soap. Remember that carving is a subtractive process so the scrapes must fall where you will cut away most amount of soap.


Step 5
Carve away, round off the edges in small portions. While carving one part, plan where to cut next and mind the proportions at the same time; and if possible think like Michaelangelo.


Step 6
Let the play of light and shadow work for you. Keep checking your work in various angles. 


Step 7
Brush off soap dusts and tiny chips then smooth the surface by rubbing with a wet finger or cotton bud.

Special note: save your shavings. These can be melted over low heat to make a new bar to carve.


There is no better teacher than experience, so if one wants to be good at something he must practice, practice, practice. The difficulty you will encounter along the way will teach you best. The internet is filled to the brim with tips from simple and cute to intricate designs, it is up to you to grab that soap and just do it. 


Wednesday, September 18, 2013

Satin and Tulle Topiary


 DIY a frilly but simple-to-make satin and tulle topiary from scratch.
This will make a beautiful wedding centerpiece and will add a subtle romantic touch to the occasion.

To make a satin flower ~

You will need:
  • satin fabric
  • candle
  • hot glue
  • pearls,beads or accent gems

 Procedure:
  • Cut satin into several sized circles.
  • Cut 5 or more snips in one circle to create a ring of petals.
  • Melt the edges by carefully burning slightly over flame.
  • Add a drop of hot glue in the center of each petal pinching carefully underneath.
  • Hot glue the different petal layers together.
  • Add a shiny accent piece.

To make an improvised  topiary stand ~

You will need:
  • sturdy stick~ bamboo or any wood
  • cement~quantity depends on number of stands to make
  • plastic cup with cover
  • paper with decorative print or colorful tissue paper
  • gold paint spray (optional)
  • metallic wire twist tie

Procedure:
  • Spray-paint stick.
  • Mix cement and pour into plastic cup.
  • Using a craft knife, cut an x on the cup cover.
  • Insert stick through hole.
  • Stick in cup with cement, let stand.
  • Remove cup cover when cement mixture stabilizes and bamboo stick can stand on its own.
  • Attach ball of paper scraps at the top of stick.
Special Note: Using paper scraps in place of styro-ball is more economical and kind to our environment.
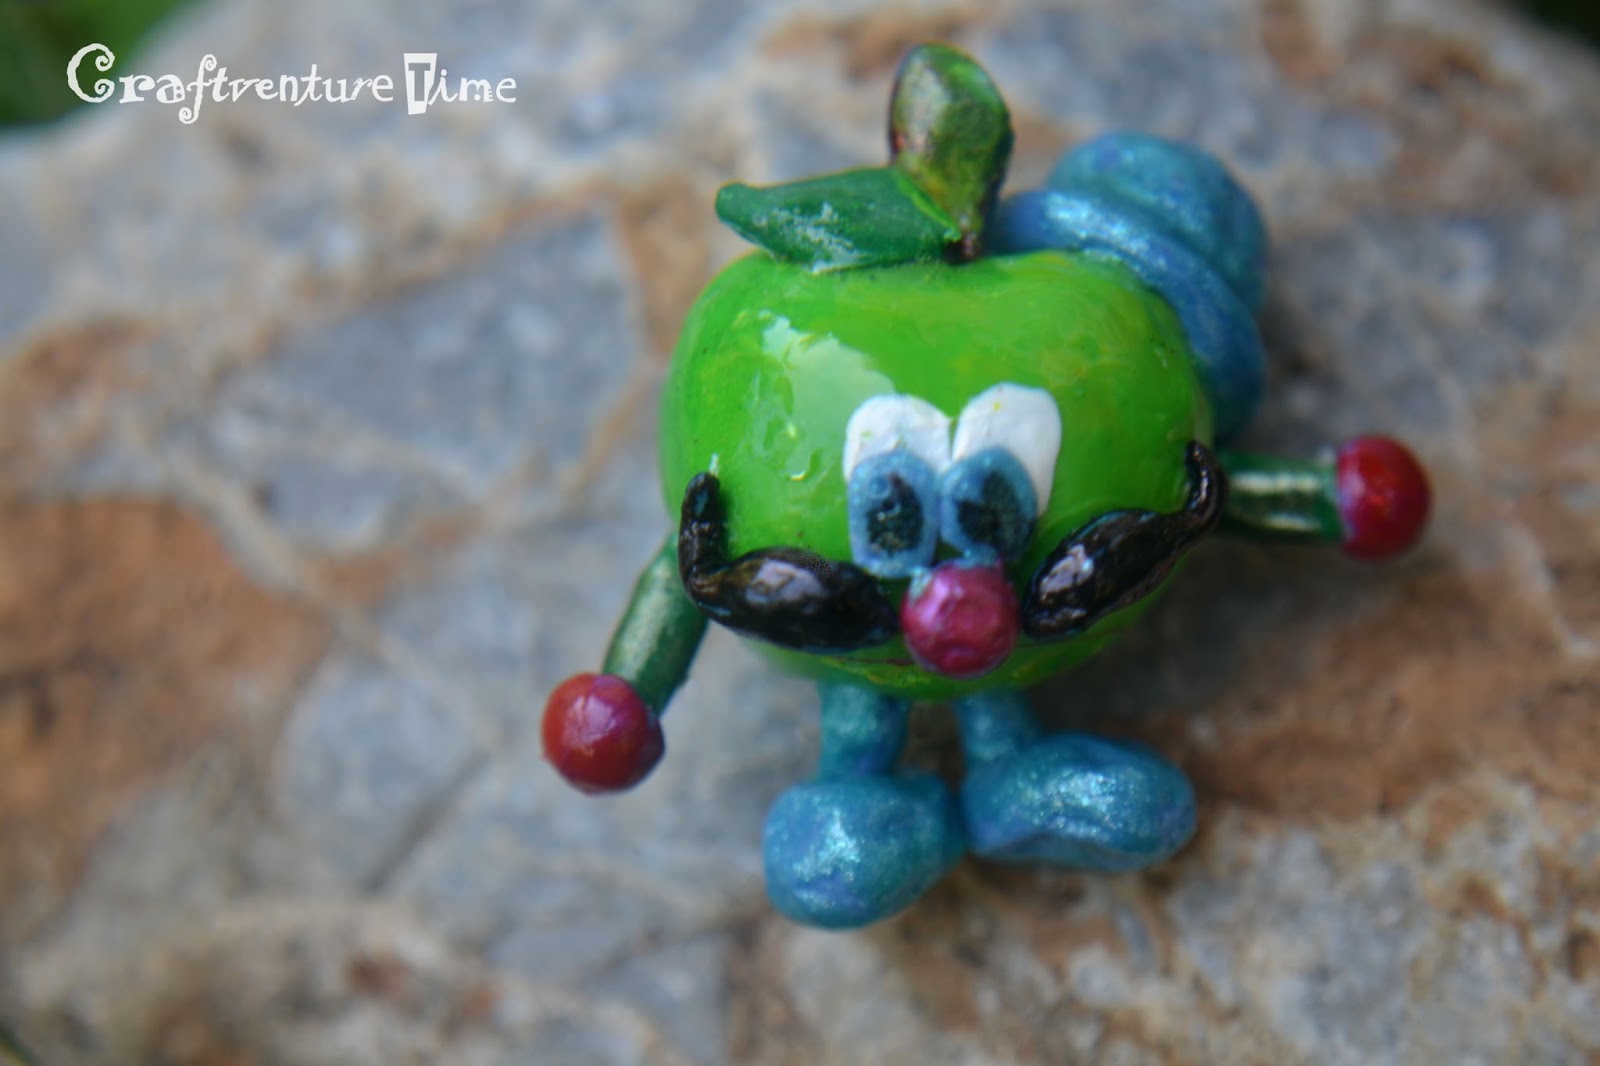
  • When completely dry, cover cement part with matching decorative print or colorful tissue papers.

Cutting the Tulle Fabric~
  • Cut tulle into strips of about 2" x 14".
  • Fold repeatedly crosswise by about 2 inches wide (per fold).
  • Trim with a half-round curve shape (or you may want a v-shape).
  • Unfold tulle, never mind imperfections.
Final touch: assemblage~
  • Gather bottom edge of tulle strip by running a needle and thread through, pressing tulle to the end of the thread till both side edges of the fabric meet creating a flower shape, secure thread with several overlapping knots.
  • Hot glue one tulle flower onto the bottom of one satin flower.
  • Attach the fabric flowers onto the scrap paper ball with hot glue till it's completely covered.


Tuesday, September 17, 2013

Creativity Quote ~ Charles Mingus


“Creativity is more than just being different. Anybody can plan weird; that’s easy. What’s hard is to be as simple as Bach. Making the simple, awesomely simple, that’s creativity” – Charles Mingus

Wednesday, September 11, 2013

Scraft-o-Toy: a 2-Seater Paper Cup Dining Set

Hi folks, today is a fine day to present to you Scraft-o-Toys by Craftventure Time.

 For our very first toy set we begin by taking an empty paper cup, 

like this candy colored cup of everybody's favorite iced coffee into
something like that pictured above.

After cleaning the takeout cup thoroughly, cut across just above the 
logo or a little below the middle section. Take the bottom part and cut 
midway through. Viola! a 2 seater dining set toy in as little as 2 mins.

But we can take it a little further by cutting a squarish hole on the 
'front' and 'back' of the table and attaching each with clear tape
on the two 'dining seats'. 
But why stop there, when it can be turned into an outdoor dining set
by including the straw and attaching a makeshift umbrella.

~Here are more product shots, hmmm...~
We believe in the magic of play. 

Let play fill in most of the hours of your favorite child/ children in the whole world.


Monday, September 9, 2013

Micro Moshlings Bread Clay: Rest of the Gang

It was a week long of bread clay and moshlings posts, it was fun creating these cuties but there are lots more other crafts and too little time, heh! Anyhow, sometimes it's nice to create if only to take fun pictures. So here's the rest of the gang in one go~

Scrumpy Moshling
Pip Moshling

Lady Meowford Moshling

Coolio Moshling

I hope you enjoyed this little series spectacle and see you  on next post with something new from Craftventure Time!

For Bread Clay Recipe and tips on making bread clay whatchamacallits click here.


Related Posts Plugin for WordPress, Blogger...